Git (for Bash)
I often write small Bash scripts to run automated tasks.
The Git installer comes with a nice Bash integration for Windows, so that's what I use to install Bash easily.
If you plan to use some scripts that are written in Bash, follow the instructions below to install Git, which will also install Bash.
Installation
Automatic installation (using the installer script)
- On the Desktop, open the
Trading Filesfolder - Then open the
Installersfolder - Then open the
Gitfolder - Launch the
Install-Git.cmdscript - Wait for the black window to finish
Manual installation
1. Obtain install files
- Open the Git Download page and download the Git installer
- Save the installer in the
Trading Filesfolder, in a folder calledExecutables.
2. Install
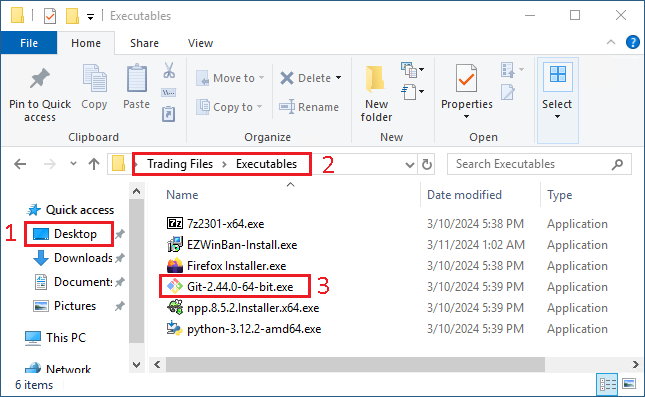
- From the
Desktop - Open the
Trading Filesfolder, thenExecutablesfolder - Launch the
Git-X.YY.Z-64-bit.exeinstaller
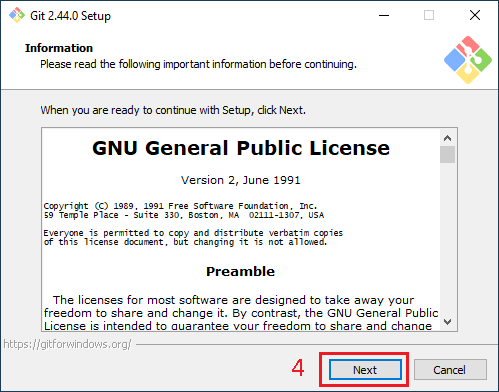
- In the "Information" window, click "Next"
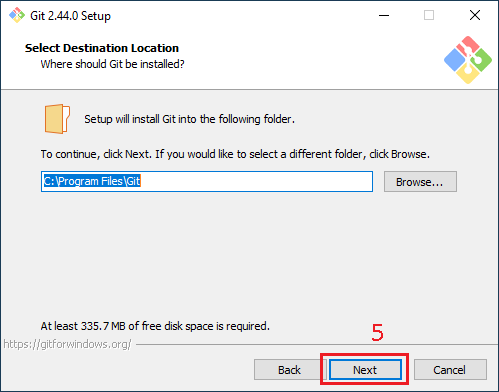
- In the "Select Destination Location" window, click "Next"
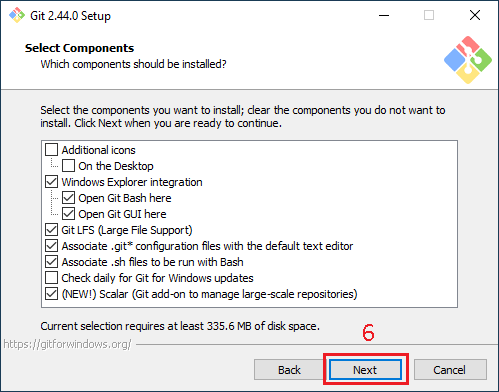
- In the "Select Components" window, click "Next"
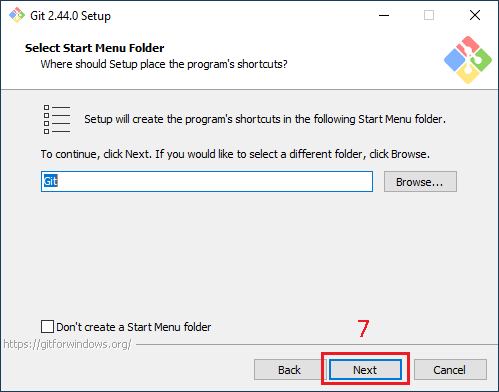
- In the "Select Start Menu folder" window, click "Next"
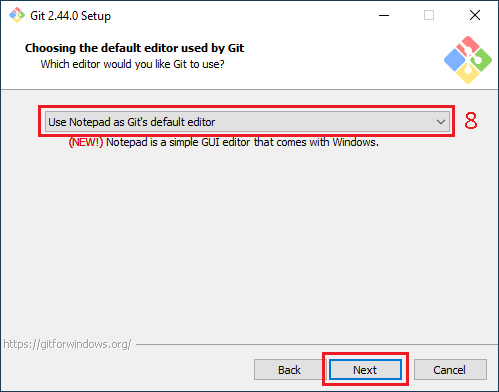
- In the "Choosing the default editor" window, select "Notepad" and click "Next"
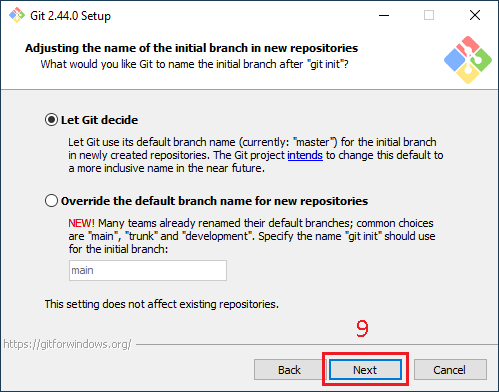
- In the "Adjusting the name of the initial branch" window, click "Next"
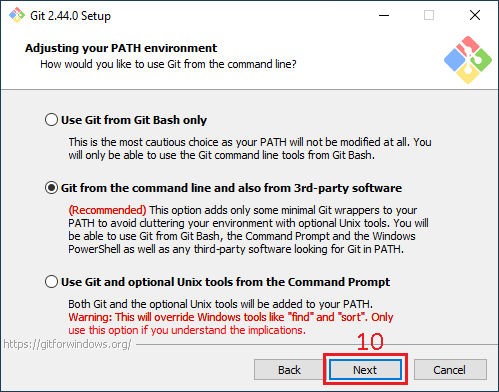
- In the "Adjusting your PATH environment" window, click "Next"
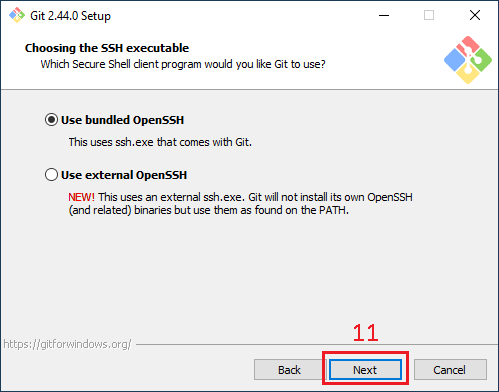
- In the "Choosing the SSH executable" window, click "Next"
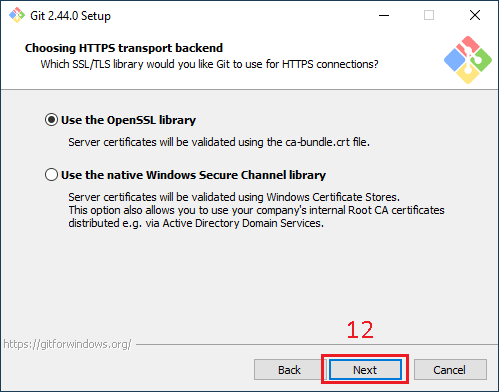
- In the "Choosing HTTPS transport backend" window, click "Next"
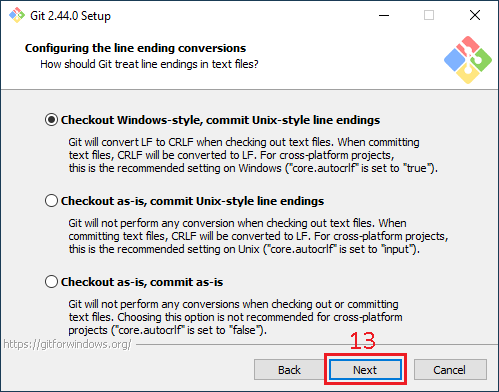
- In the "Configuring the line ending" window, click "Next"
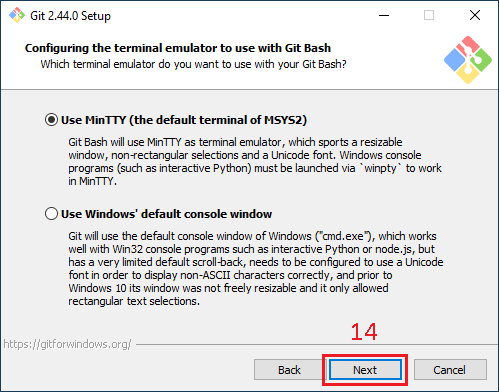
- In the "Configuring the terminal emulator" window, click "Next"
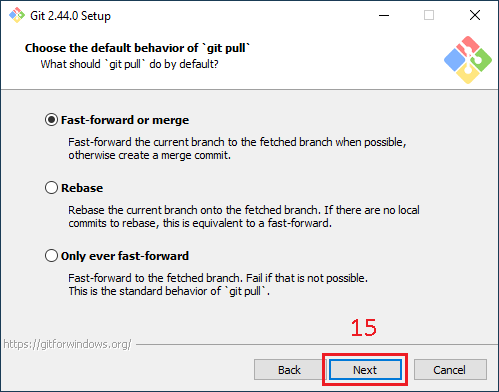
- In the "Choose the default behavior" window, click "Next"
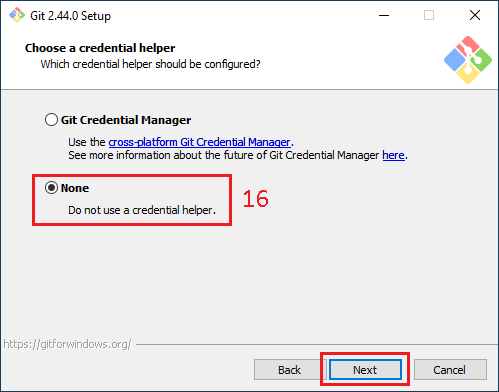
- In the "Choose a credential helper" window, select "None" and click "Next"
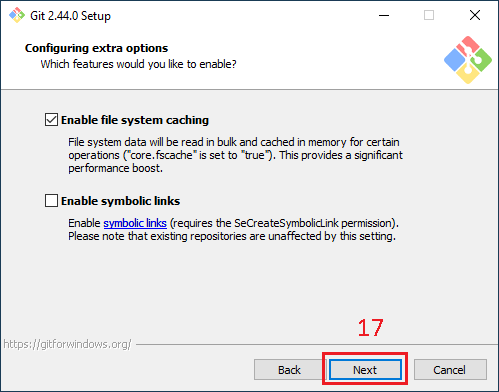
- In the "Configuring extra options" window, click "Next"

- In the "Configuring experimental options" window, click "Next"
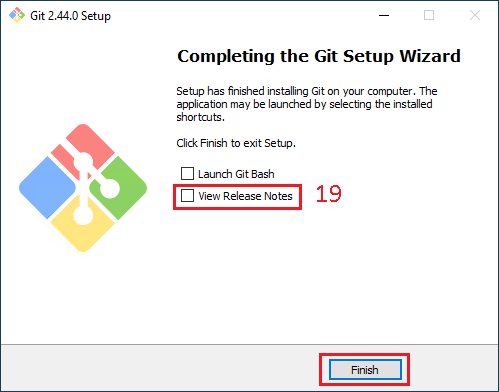
- In the "Completing the Git Setup Wizard" window, un-select "View Release Notes" and click "Finish"