FileZilla (FTP Server)
FileZilla Server is a program that allows to create a FTP Server on your VPS, and share files.
You only need to install it if you want to share files using FTP.
Installation
Automatic installation (using the installer script)
The automatic installation is not available for the moment.
Manual installation
1. Obtain install files
- Open the FileZilla Server Download page and download the FileZilla Server Installer. Save the file in the
Trading Filesfolder, in theExecutablesfolder.
2. Install
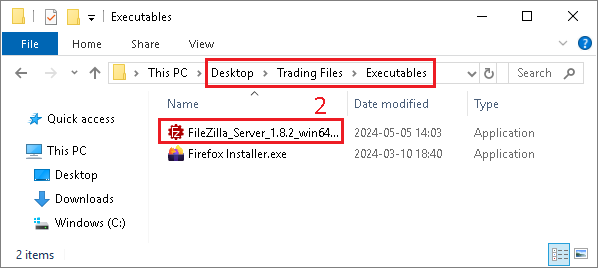
- Open the
Trading Filesfolder on the desktop, then openExecutables, and launch theFileZilla Serverinstaller
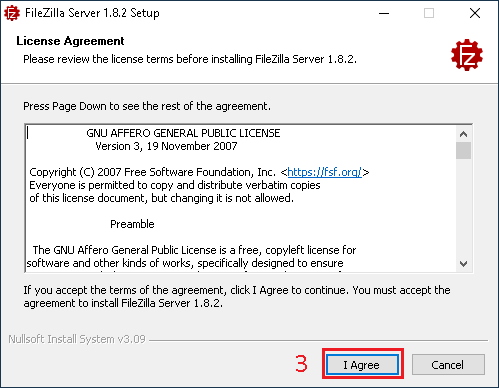
- In the
License Agreementwindow, click onI Agree
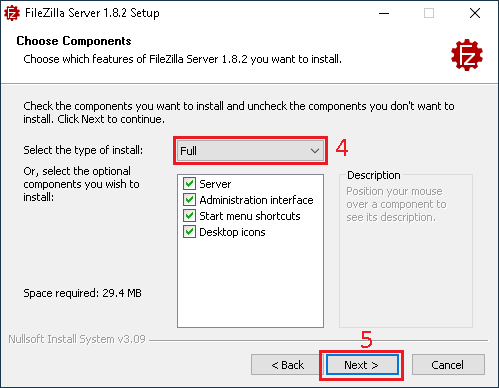
- In the
Choose Componentswindow, selectFull - Click on
Next

- In the
Choose Install Locationwindow, keep the default installation path - Click on
Next
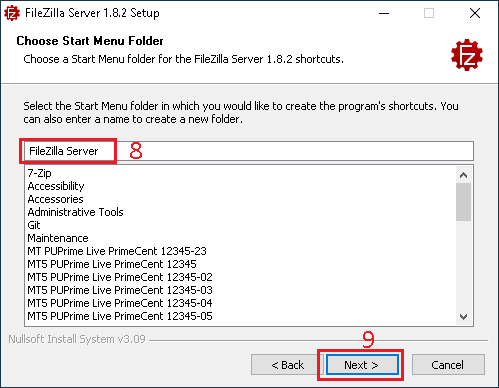
- In the
Choose Start Menu Folderwindow, leave the defaultFileZilla Serverfolder name - Click on
Next
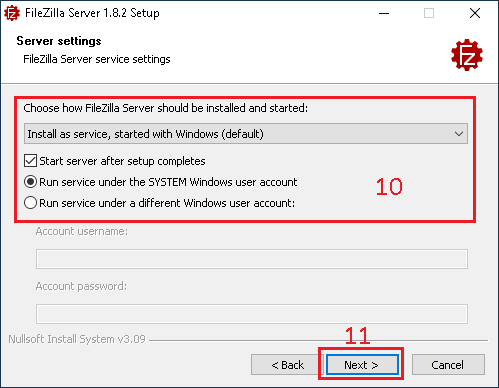
- In the
Server settingswindow, leave the default options - Click on
Next

- In the
Server settingswindow, type the password you want to use for the Administration Interface - Click on
Next

- In the
Admin Settingswindow, you can chose to start the Administration Interface automatically when the server starts - Click on
Install
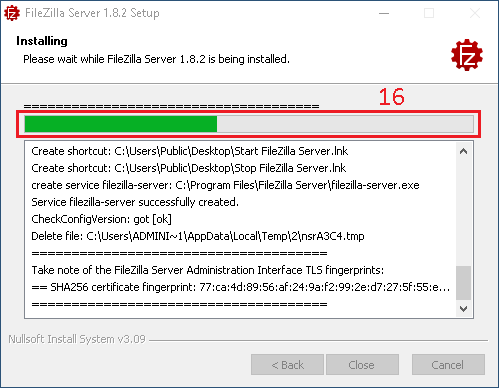
- In the
Installingwindow, wait for the install to finish
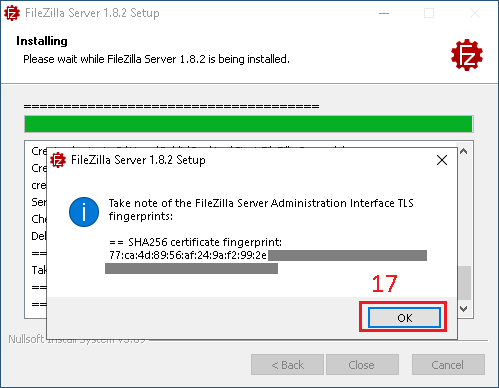
- Click on
OKto confirm theTLS fingerprints
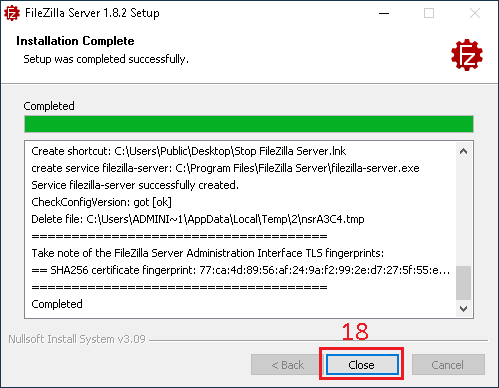
- In the
Installation Completewindow, click onClose
Configuration
You will have to decide which folder you want to share over FTP.
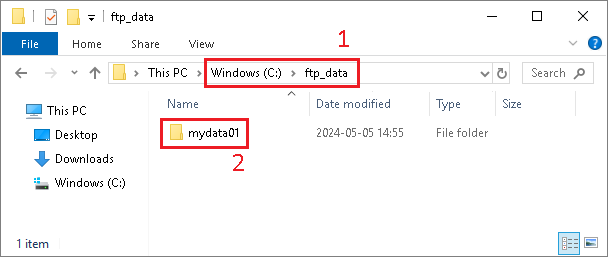
- In this example, we will create a folder named
ftp_dataon theC:\drive. - In this
C:\ftp_datafolder we will create a sub-folder calledmydata01
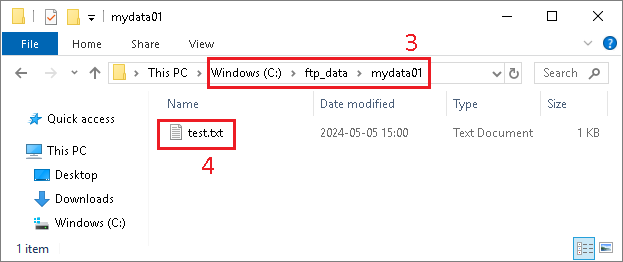
- Open the folder
C:\ftp_data\mydata01 - Create a test file
test.txt

- Open the
Admin interfaceby using the desktop shortcut

- If you are not already connected to the local server, click on
Connect to Server...

- In the
Connectionwindow, type theAdmin interfacepassword - You can also select
Save the passwordandAutomatically connectif you want that theAdmin interfaceconnects automatically to this server - Click on
OK

- Validate the fingerprint by clicking on
Yes

- To open the setings, click on
Server - Then click on
Configure ...

- In the
Server listenersmenu - On the line
0.0.0.0(for IPv4 traffic), change the protocol toRequire explicit FTP over TLS - Select the line
::(for IPv6 traffic) - Click
Removeto disable the IPv6 traffic
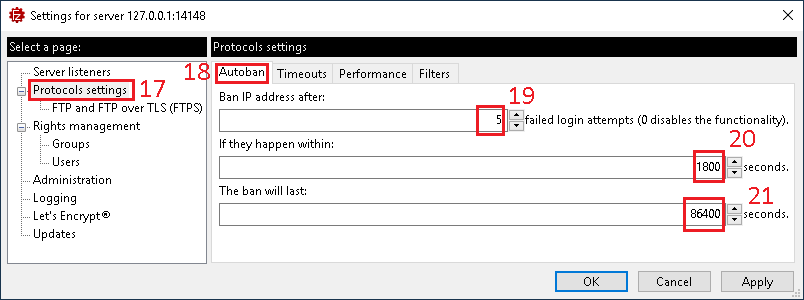
- In the
Protocols settingsmenu - Go in the
Autobanwindow - Set
5attempts forBan IP address after - Set
1800seconds (30 minutes) inIf they happen within - Set
86400seconds (1 day) inThe ban will last
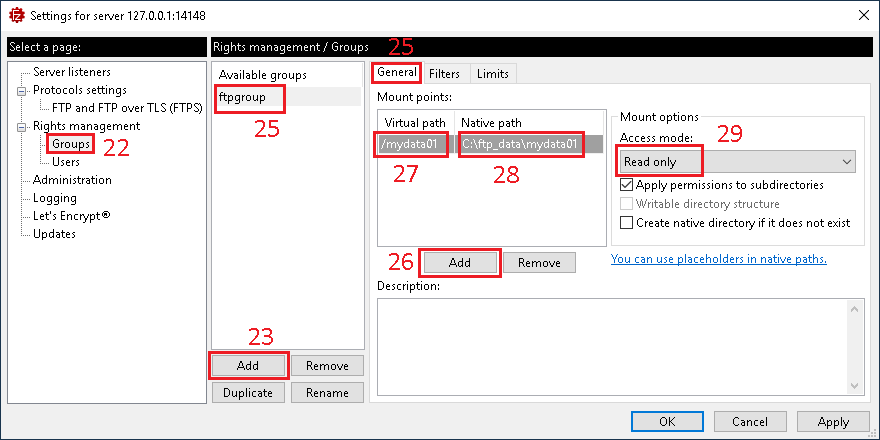
- Under the
Right managementmenu, selectGroups - To create a new group, click
Add - Then provide the group name, example
ftpgroup - In the
Generalsection - Click on
Addto add a new mount point - Provide the virtual path, exemple
/mydata01 - And provide the native path where the folder is stored, so in our example
C:\ftp_data\mydata01 - Chose the access mode, in our example
Read only
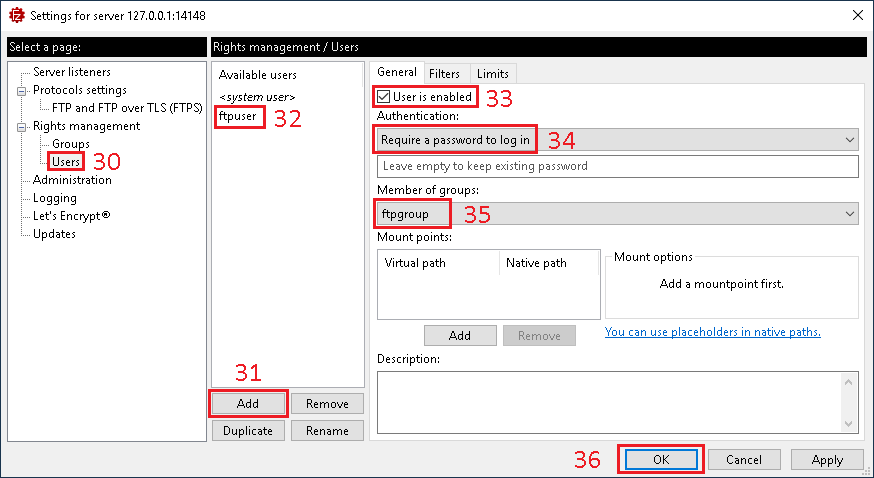
- Under the
Right managementmenu, selectUsers - To create a new user, click on
Add - Then provide the name of the user, in our case we will create a user named
ftpuser, and provide the password - Make sure the user is enabled
- Make sure the user requre a password to login
- Add this user to the group of your choice, in our case
ftpgroup - Click
OKto save the changes
Open windows firewall for FTP port
We need to configure the Windows Firewall to accept connections on port 21/TCP, so the FTP clients can connect to the FileZilla FTP Server.

- Open the windows start menu
- Search for
Run - Type
wf.msc - Click on
OK
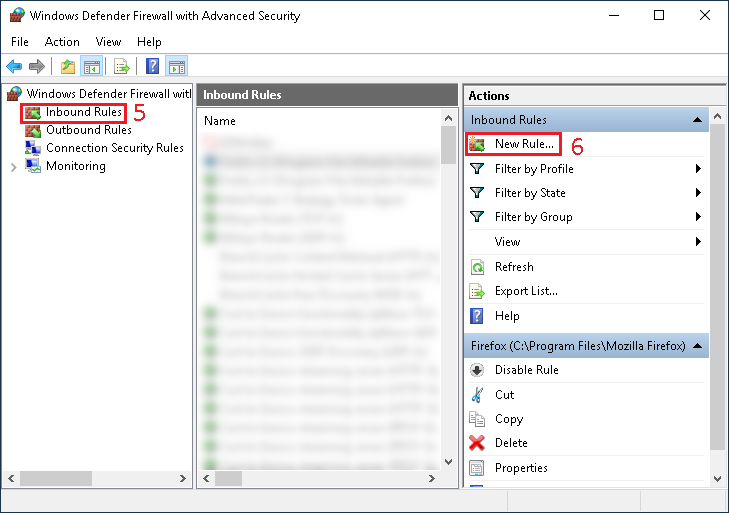
- In the
Windows Defender Firewallwindow, click onInbound Rules - Then click on
New Rule...
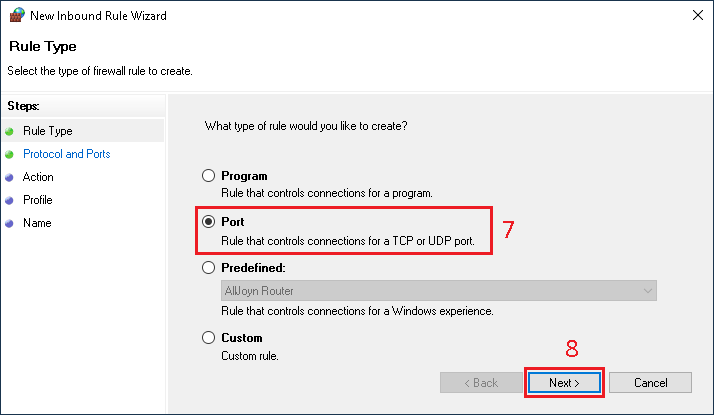
- In the
Rule Typewindow, selectPort - Then click on
Next
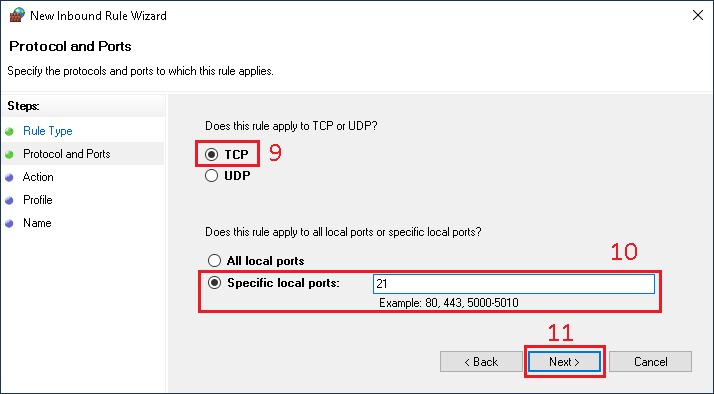
- In the
Protocol and Portswindow, selectTCP - Then specify the port
21 - Then click on
Next
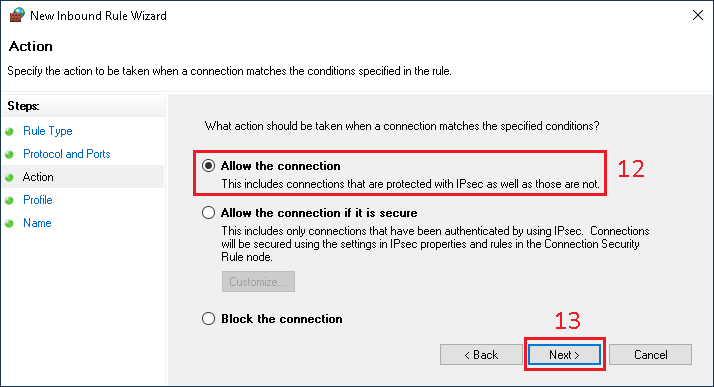
- In the
Actionwindow, click onAllow the connection - Then click on
Next
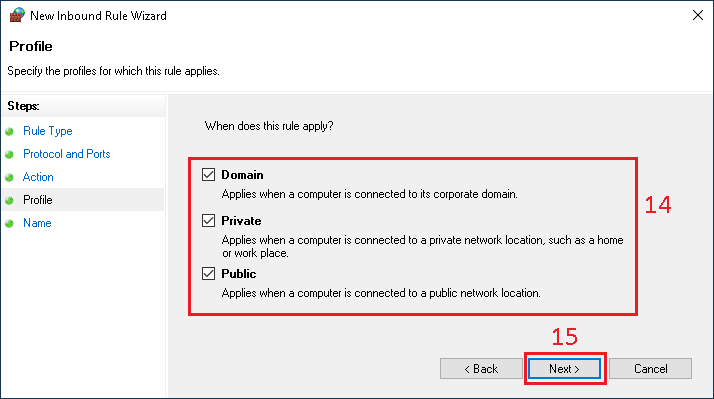
- In the
Profilewindow, select all the profiles - Then click on
Next

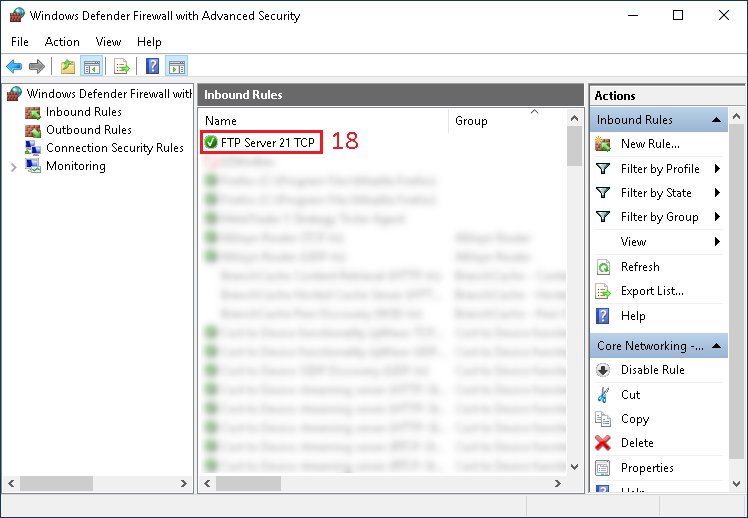
- In the
Namewindow, set the rule name toFTP Server 21 TCP - Then click on
Finish
-
Back to the main
Windows Firewallwindow, you should see the newFTP Server 21 TCPrule -
The FTP Server should now be reachable from internet on the port TCP 21.
Connect to the FTP Server
You can use FileZilla Client to connect to the FTP Server.

- Launch
FileZilla Client
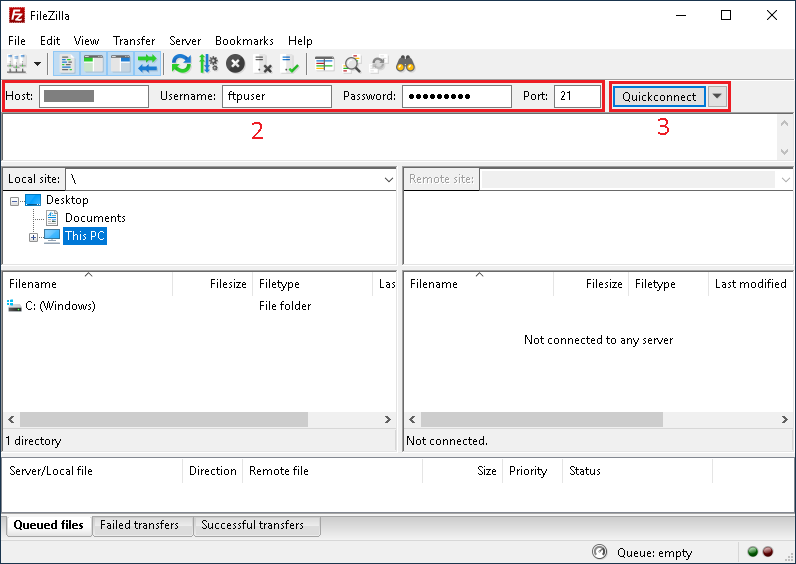
- Provide the Hostname or IP of the server, the username, the password and the port
- Click on
Quickconnect

- If everything works as expected, you should be connected on the server
- You should also be able to browse to the
mydata01folder - And download the
test.txtfile we have created